Sketches/Pre-search from designer notebook
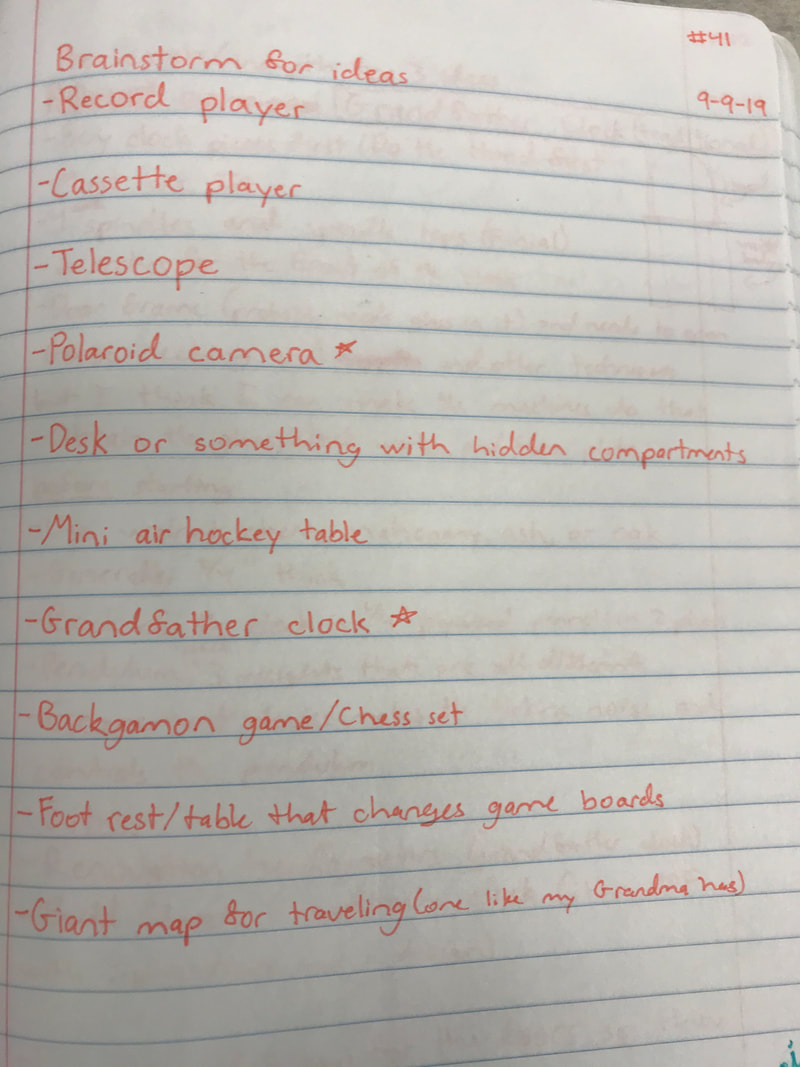
List of 10 or more ideas for final project
|
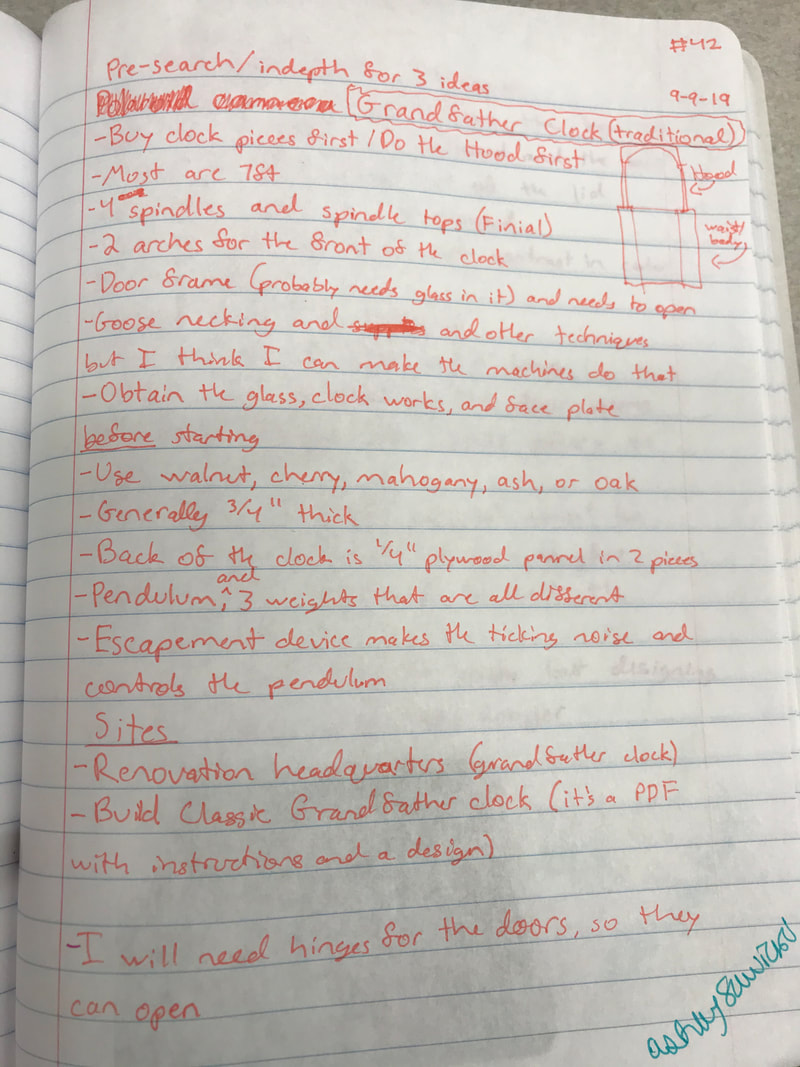
First idea, but it was too expensive to build
|
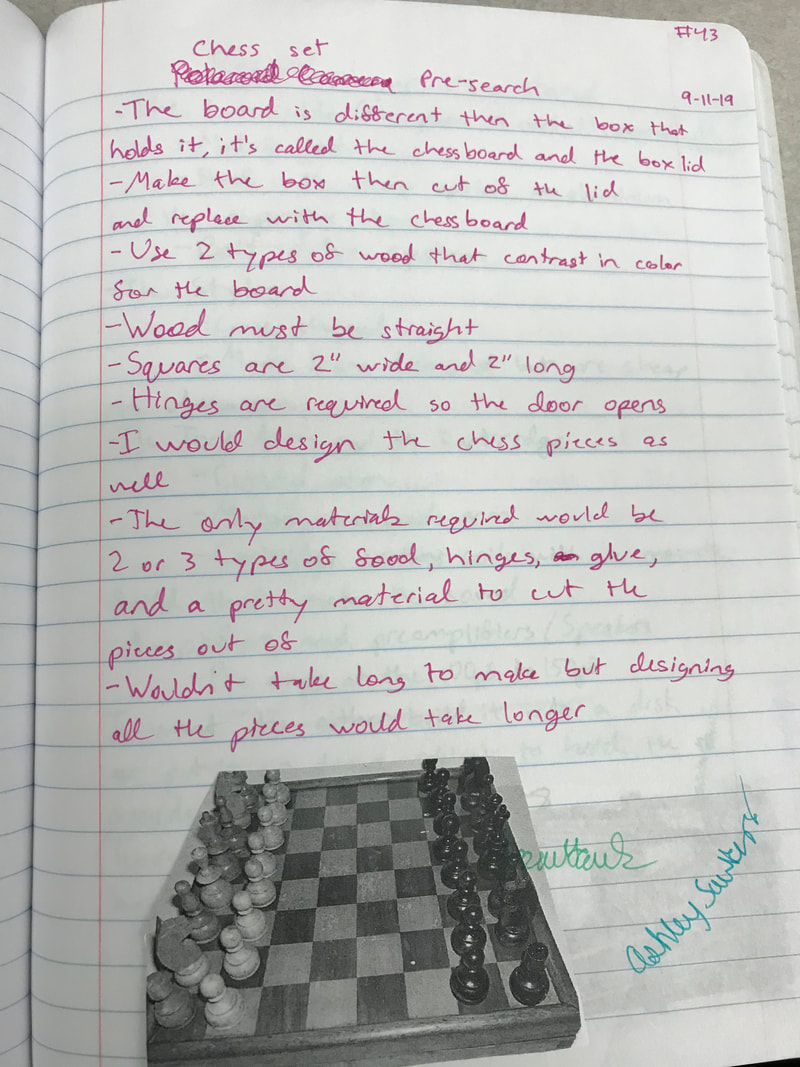
Second idea, but I didn't love it
|
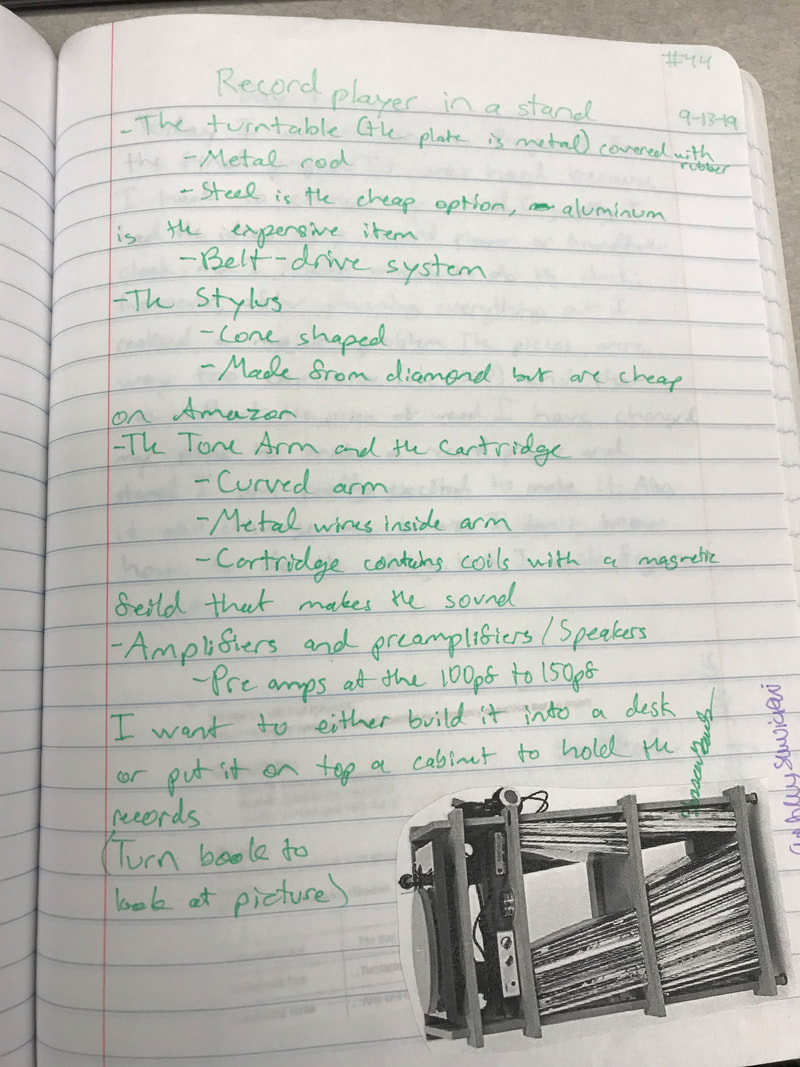
Third idea, which I chose, but with no stand
|
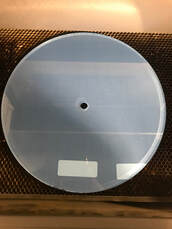
The Disk
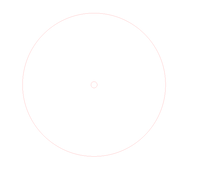
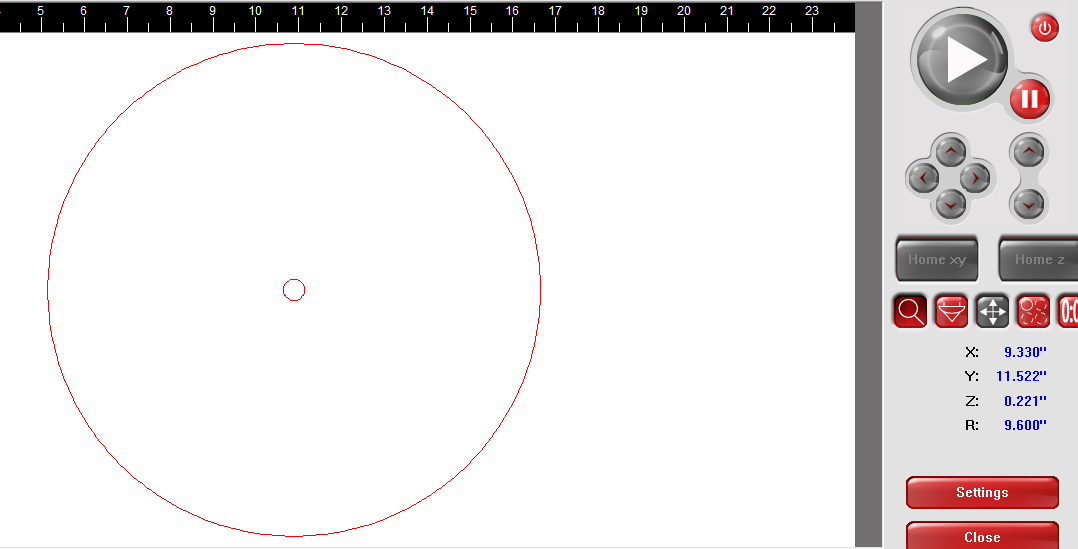
Laser cutting
|
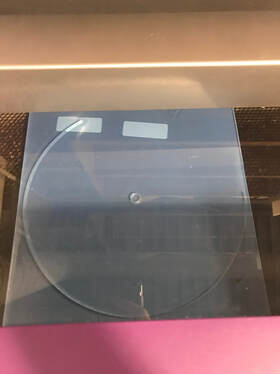
The disk is the part of the record player that the record sits upon. The platter is spun by the motor at various revolutions per minute, the most common being 33, 45, or 78 revolutions per minute. There are many different sizes and materials for the disk. I chose to use Plexiglas for my disk because it was cheap, easy to find and get, and I liked how it looked. As for the size, I designed, in Adobe Illustrator, a circle with a diameter of 11.5" and another smaller circle with a diameter of .5" in the center of the big one. I then used the laser to cut those circles out of my 12" by 12", by 3/8" sheet of Plexiglas.
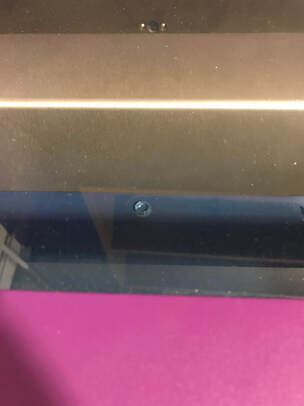
The Disk cut out
|
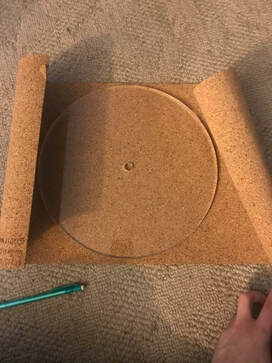
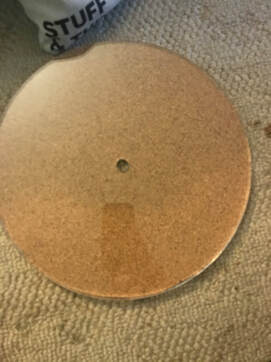
The Mat
|
Every record player has a mat. The mat is placed on top of the disk and then the record that is going to be played is placed on top of the mat. The mat is used to protect the record by reducing drag and friction when it turns counter clockwise. With those two things reduced a better sound is produced. There are four types of material a mat can be made out of: felt, leather, rubber, and cork. I chose cork for my mat because it was cheap and easier to find and make.
|
|
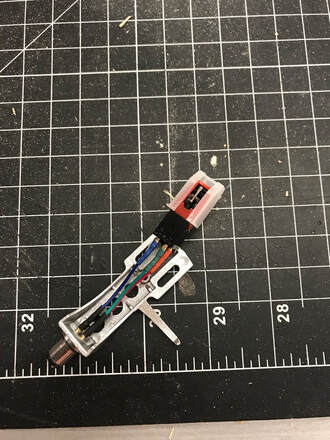
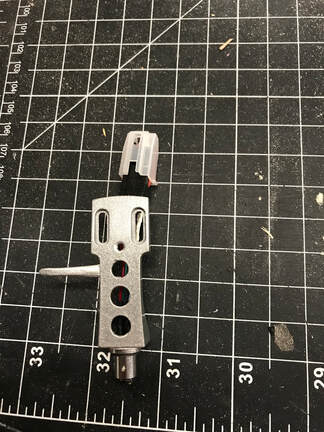
The cartridge and head shell
|
The red and black part with the needle is the cartridge, and the silver metal and 4 colored wires is the head shell. This is a very important part of the record player because the cartridge creates an electrical signal in response to the stylus moving across the surface of the record. The head shell holds the cartridge and its wires carry the signals produced from the cartridge to the tone arm and the tone arm cable. This part of the record player has so many parts that need to be perfect to work so I ordered both pieces instead of wasting my time by trying and failing to design them.
|
|
Tonearm
|
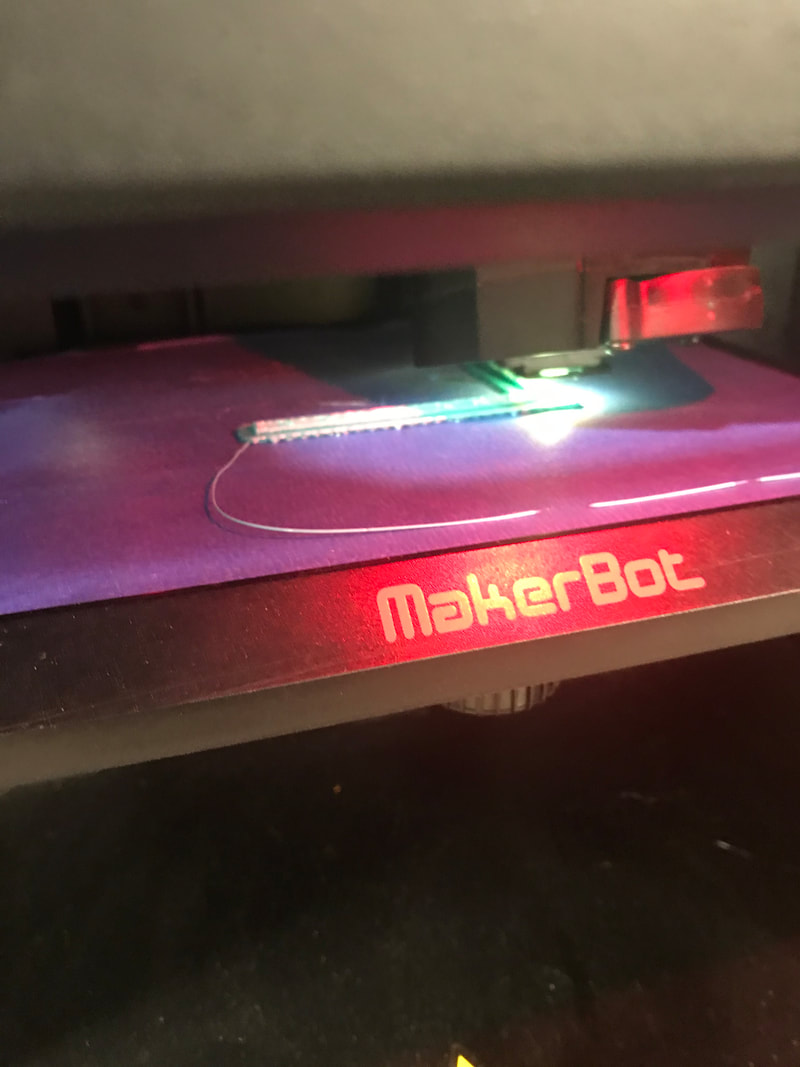
The tonearm holds the head shell and allows the cartridge and stylus to properly move across the record to make the best music possible. The tonearm needs to be able to move from its holder to the record, and it needs to be the correct weight. If it is too light the stylus won't read the record, but if it is too heavy the stylus will dig into the record and that ruins the record and the stylus. There are many different deigns and versions of tonearms, but it doesn't change anything they are just for different ascetics. I decided to 3D print my tonearm because the material was the right weight and it was easy to customize. I designed it in Inventor and then printed it on the Z18 printer so I wouldn't have to use supports when printing it.
|
|
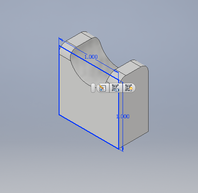
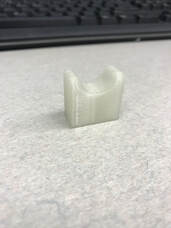
The tonearm holder is a very simple, yet very important, part of the record player. It does one job which is to hold the tonearm when the record player isn't being used. This may seem unimportant or useless, but it is needed to hold the arm level so the wiring doesn't get bent or destroyed. It also holds up the arm so that the needle in the stylus doesn't get damaged by just sitting on the box. When I first designed my holder I made the semi-circle indent too small and I made the holder itself too skinny. The second time I designed it I made it thinker so it could stand on its own and be stable, and I made the semi-circle indent bigger and more rounded so it better held the tonearm. When I tested it, it worked perfectly.
|
Tonearm holder
|
Tonearm lifter

|
Final design
|
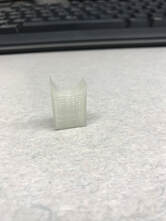
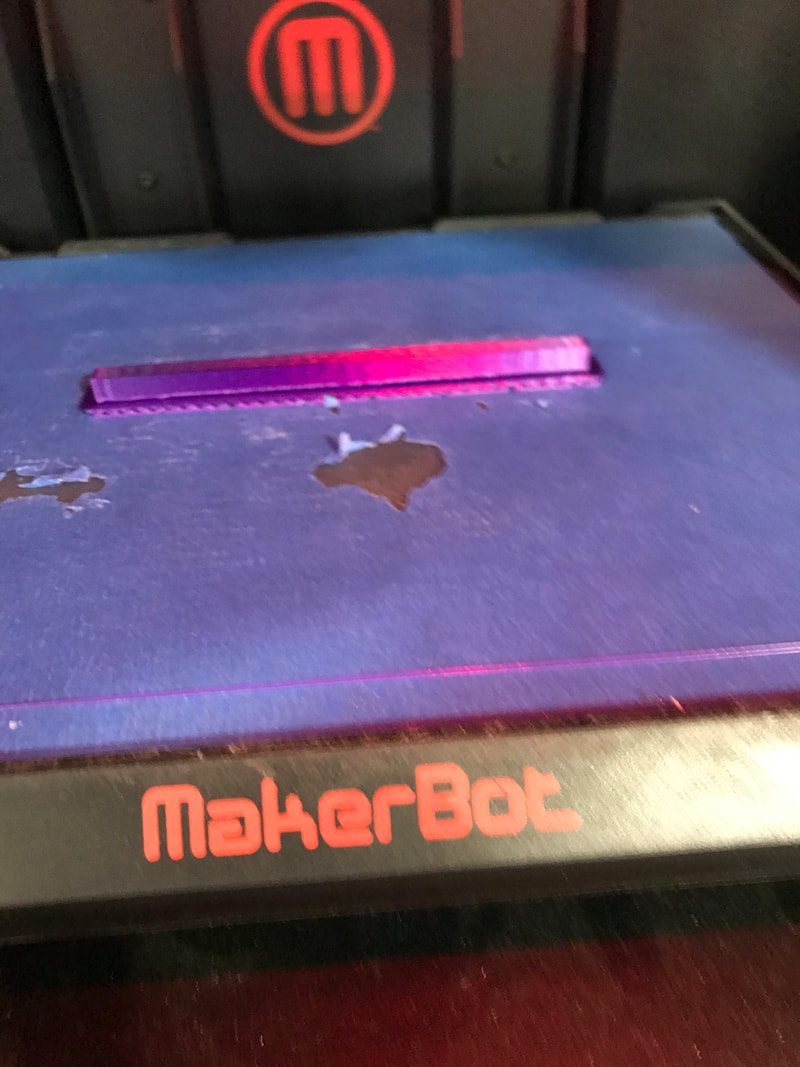
The tonearm lifter does exactly like it sounds like, but it also does more. Yes, it does lift the tonearm up off of the tonearm holder, but it also holds the tonearm in place, allows it to move so it properly players the record, and both parts of the lifter have holes in them so that the tonearm wire can go from the head shell to the pre-amp. I decided to 3D print my lifter because it was the easiest way of designing and producing it. On my first attempt I made it way to big because I didn't really think about it, and then on my second attempt I forgot to include the holes in both pieces, but I got it all right on my third and final attempt; however, I am not a huge fan of the color combo.
|
The box
|
|
|
|
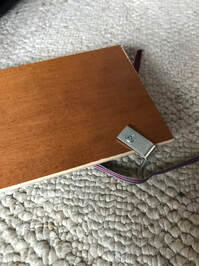
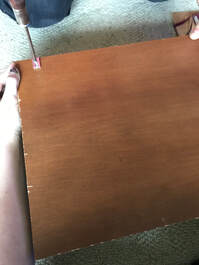
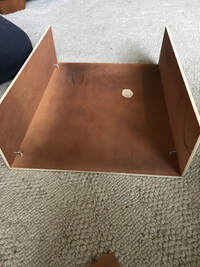
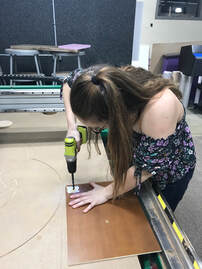
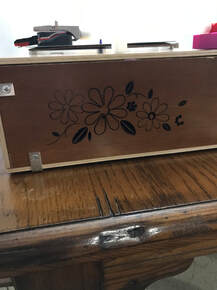
The box is probably the most self explanatory part of the record player, it is a box. However, it is very important because it holds everything and hides all the wiring from eyesight. The box is mostly made from wood, but the type of wood it's made from varies based on preferences. Usually people use maple or oak, but due to costs and accessibility I didn't use those. My grandma had an old dresser in her basement that we took because she didn't have room for it, so I took it apart and used the wood from it for my box. The wood is a kind of plywood that is a quarter inch thick. Because it was so thin I changed my original idea of using the CNC Router to using the table saw to cut it. I don't know how to use a table saw so Mr. Willauer cut all of my pieces for me by using the table saw in the woods lab. Once all my pieces were cut, I used what I think are called l brackets to screw all of them together except my top piece because I needed to drill two holes into it. One was for the piece for the motor and the other was for the tonearm wire. Then, once my entire record player was set up, I screwed my top piece into place with the rest of my box.
The Vinyl design

|
|
|

|
|
|
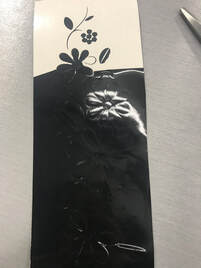
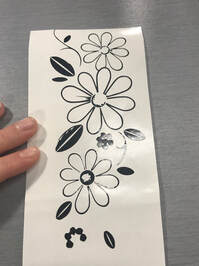
For this project we needed to use three machines in the Innovation Center. Before using the vinyl cutter I had used the 3D printer and the laser because the table saw doesn't count as a machine. So in order to use three machines I decided to add some decoration with a decal. I found an image of flowers, used illustrator to make a vector image, cut it out, then spent 20 minutes weeding it because of how little the pieces were. I then added it to the side of my box once everything else had been put together.
|
The Wiring
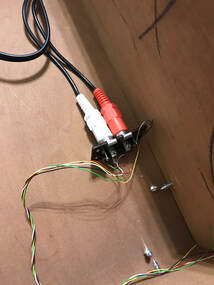
The tonearm wire
|
The tonearm wire carries the vibrations and sounds from the head shell through the tonearm and tonearm lifter to the inside of the box. Then it turns the signals into rca. The rca then connects into the pre-amp. For my tonearm cable I used the tonearm cable from an old record player and then used an rca to rca cable to attach into my pre-amp.
|
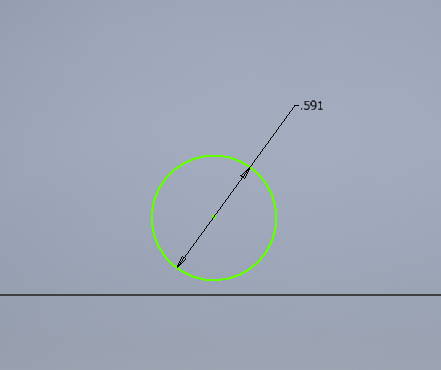
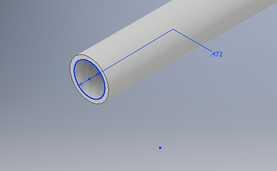
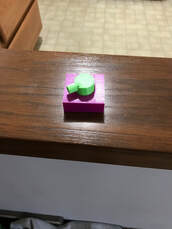
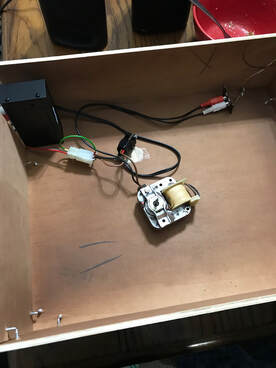
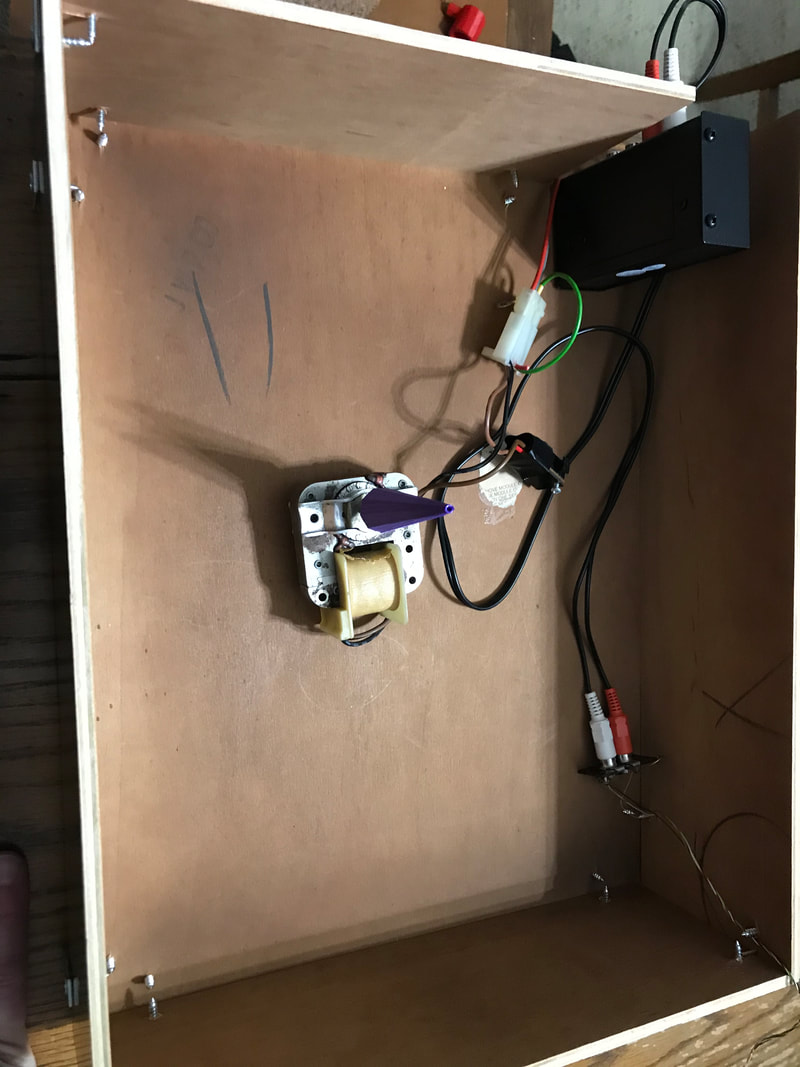
The motor
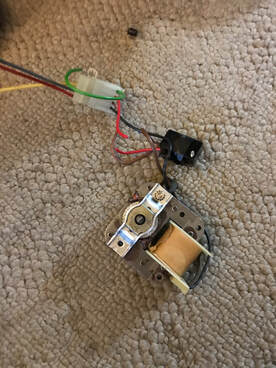
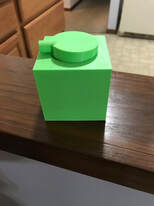
I glued these two pieces together to make my switch
|
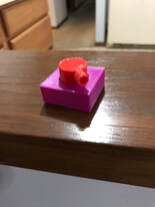
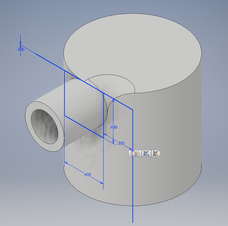
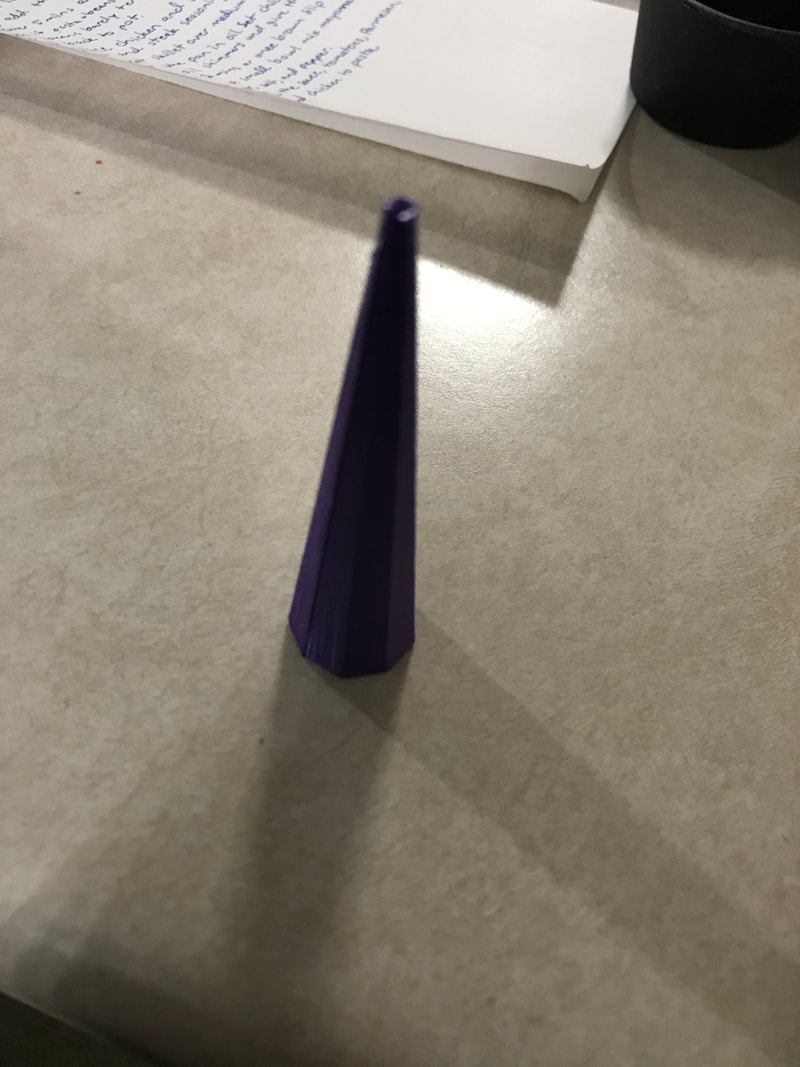
The motor is the part of the record player that spins the disk which spins the record. There are two types of powering your record player: direct drive and belt drive. For belt drive there is a belt that goes around the motor and the disk so the motor spins the belt that spins the disk. Direct drive is when the motor directly spins the motor. I chose direct drive because it was easiest and I used a cone shaped object I 3D printed to accomplish direct drive, and I 3D printed a rectangular prism to hit the switch to turn the motor on and off. Also I used a motor from an old record player because they are extremely expensive and I already had one that worked. I had to splice wires together with a computer cord though, to get it to be able to plug in the wall and work. I found out twice that if you do it wrong you create a short circuit. Yes I short circuited my house twice, but I got it right the third time.
|
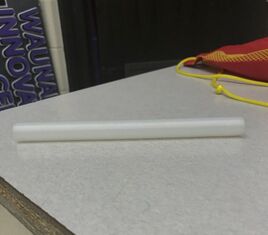
This is my little cone thing I designed and printed
|
|
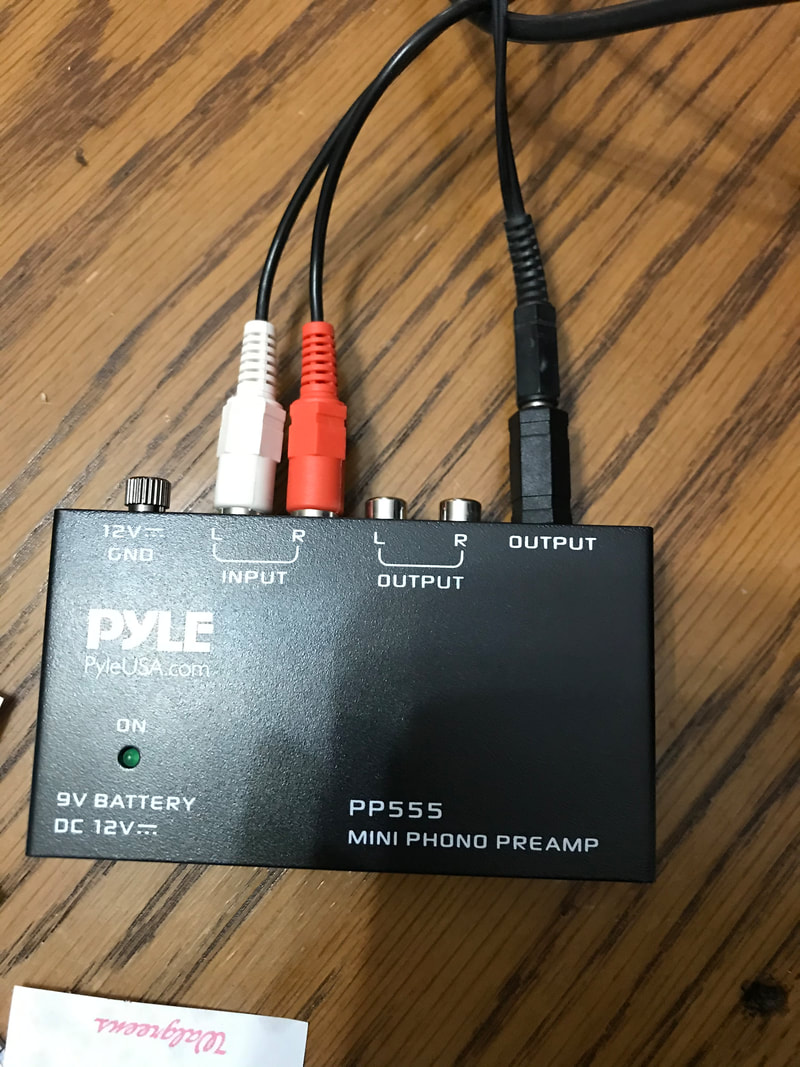
The Pre-amp
|
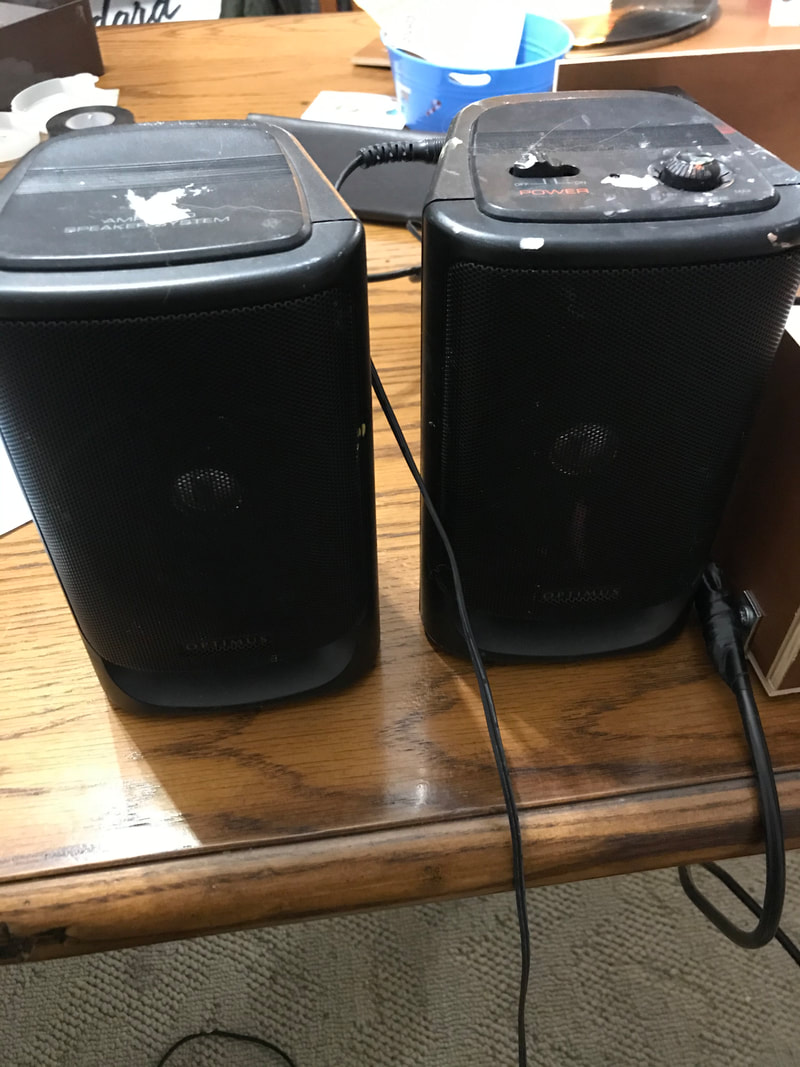
The Amplifier and speakers
|
Final Outcome

|
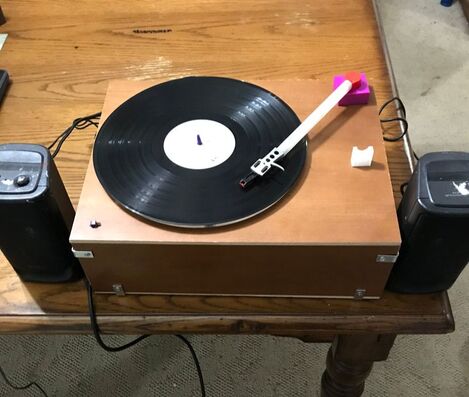
|
What I learned
I could write a whole 5 page essay on everything I learned during this project, but for your sake and my own I won't. Although I will say a few of the big topic things I learned. First of all, I used, wrote about, thought about, and examined my time management skills way more than I ever imagined I would in a whole school year, let alone just one semester. In this class we had little assignments and projects that were due and worth a lot of points, but since day one we had our final project that was going to be due. We were supposed to work on our final project each day, and when we needed a break we would work on our little assignments. Basically its like Zelda, you have a main goal that is the entire point of the game, but on the way you have mini side quests that can distract and frustrate you just as much as the main goal. Those side quest help you on your main goal and either let you go into the final fight with an advantage and lots to help you or if you skipped them or didn't do well on them you do into the final without a cushion or help. I did all of the side quests/other projects right away so that I would have the rest of the time to do my final. This means that while turning in my final project that's worth 180 points and 20% of my grade is stressful, I have some cushion because I did all of my other assignments, so I'm not worried about passing the class. However, doing all the side quests meant that I had less time to work on and get my final done. In hind sight I should have made sure that after completing one of the Arduino's I would work on my final, but I didn't do that. In the end Though it all worked out because I completed my final on time and it didn't give me too much stress.
Besides learning about time management, I also learned more information than I knew existed about record players. I have already included a lot of information about all the different parts of a record player above, and I'll do the kind thing and not make you reread it all; however, I will include some of the little things I learned that didn't fit above, and as a side note all of the information I included above was information I learned during this project, I didn't even know some of the major parts existed. Some of the fun facts I leaned is that there are many different names for at least half of the parts and a record player itself, which made researching even harder than it already was. A record player is also called a phonograph or turntable, and the disk is known as the platter. Along with every piece having different names, there are so many different materials that each piece is made out of from one record player to the next. For example, the stylus, or needle, can be made from any hard metal or diamond. There are also different types of motors/ways of powering your record player, there are different types of speakers, and different types of pre-amps.
Overall there were so many things I learned about for the first time, or just understood something in a slightly more advanced way than before. This semester was a roller coaster of stress, confusion, and just randomness, but I had fun every minute of it. It was one of my favorite classes this semester, and I am so glad that I changed my mind and took it. I got to make something I wanted to make, how I wanted to make it, and I get to keep it and actually use it. I'm really proud of myself for finishing this project, and doing everything myself. I've never dealt with wires or brackets before, but with some help I managed to figure it out and do everything myself. I know this was just a bunch of rambling, but what I'm trying to say is that I had so much fun in this class, and I've learned so much from not only this class, but also IDEA, and I am so glad that I took it.
